
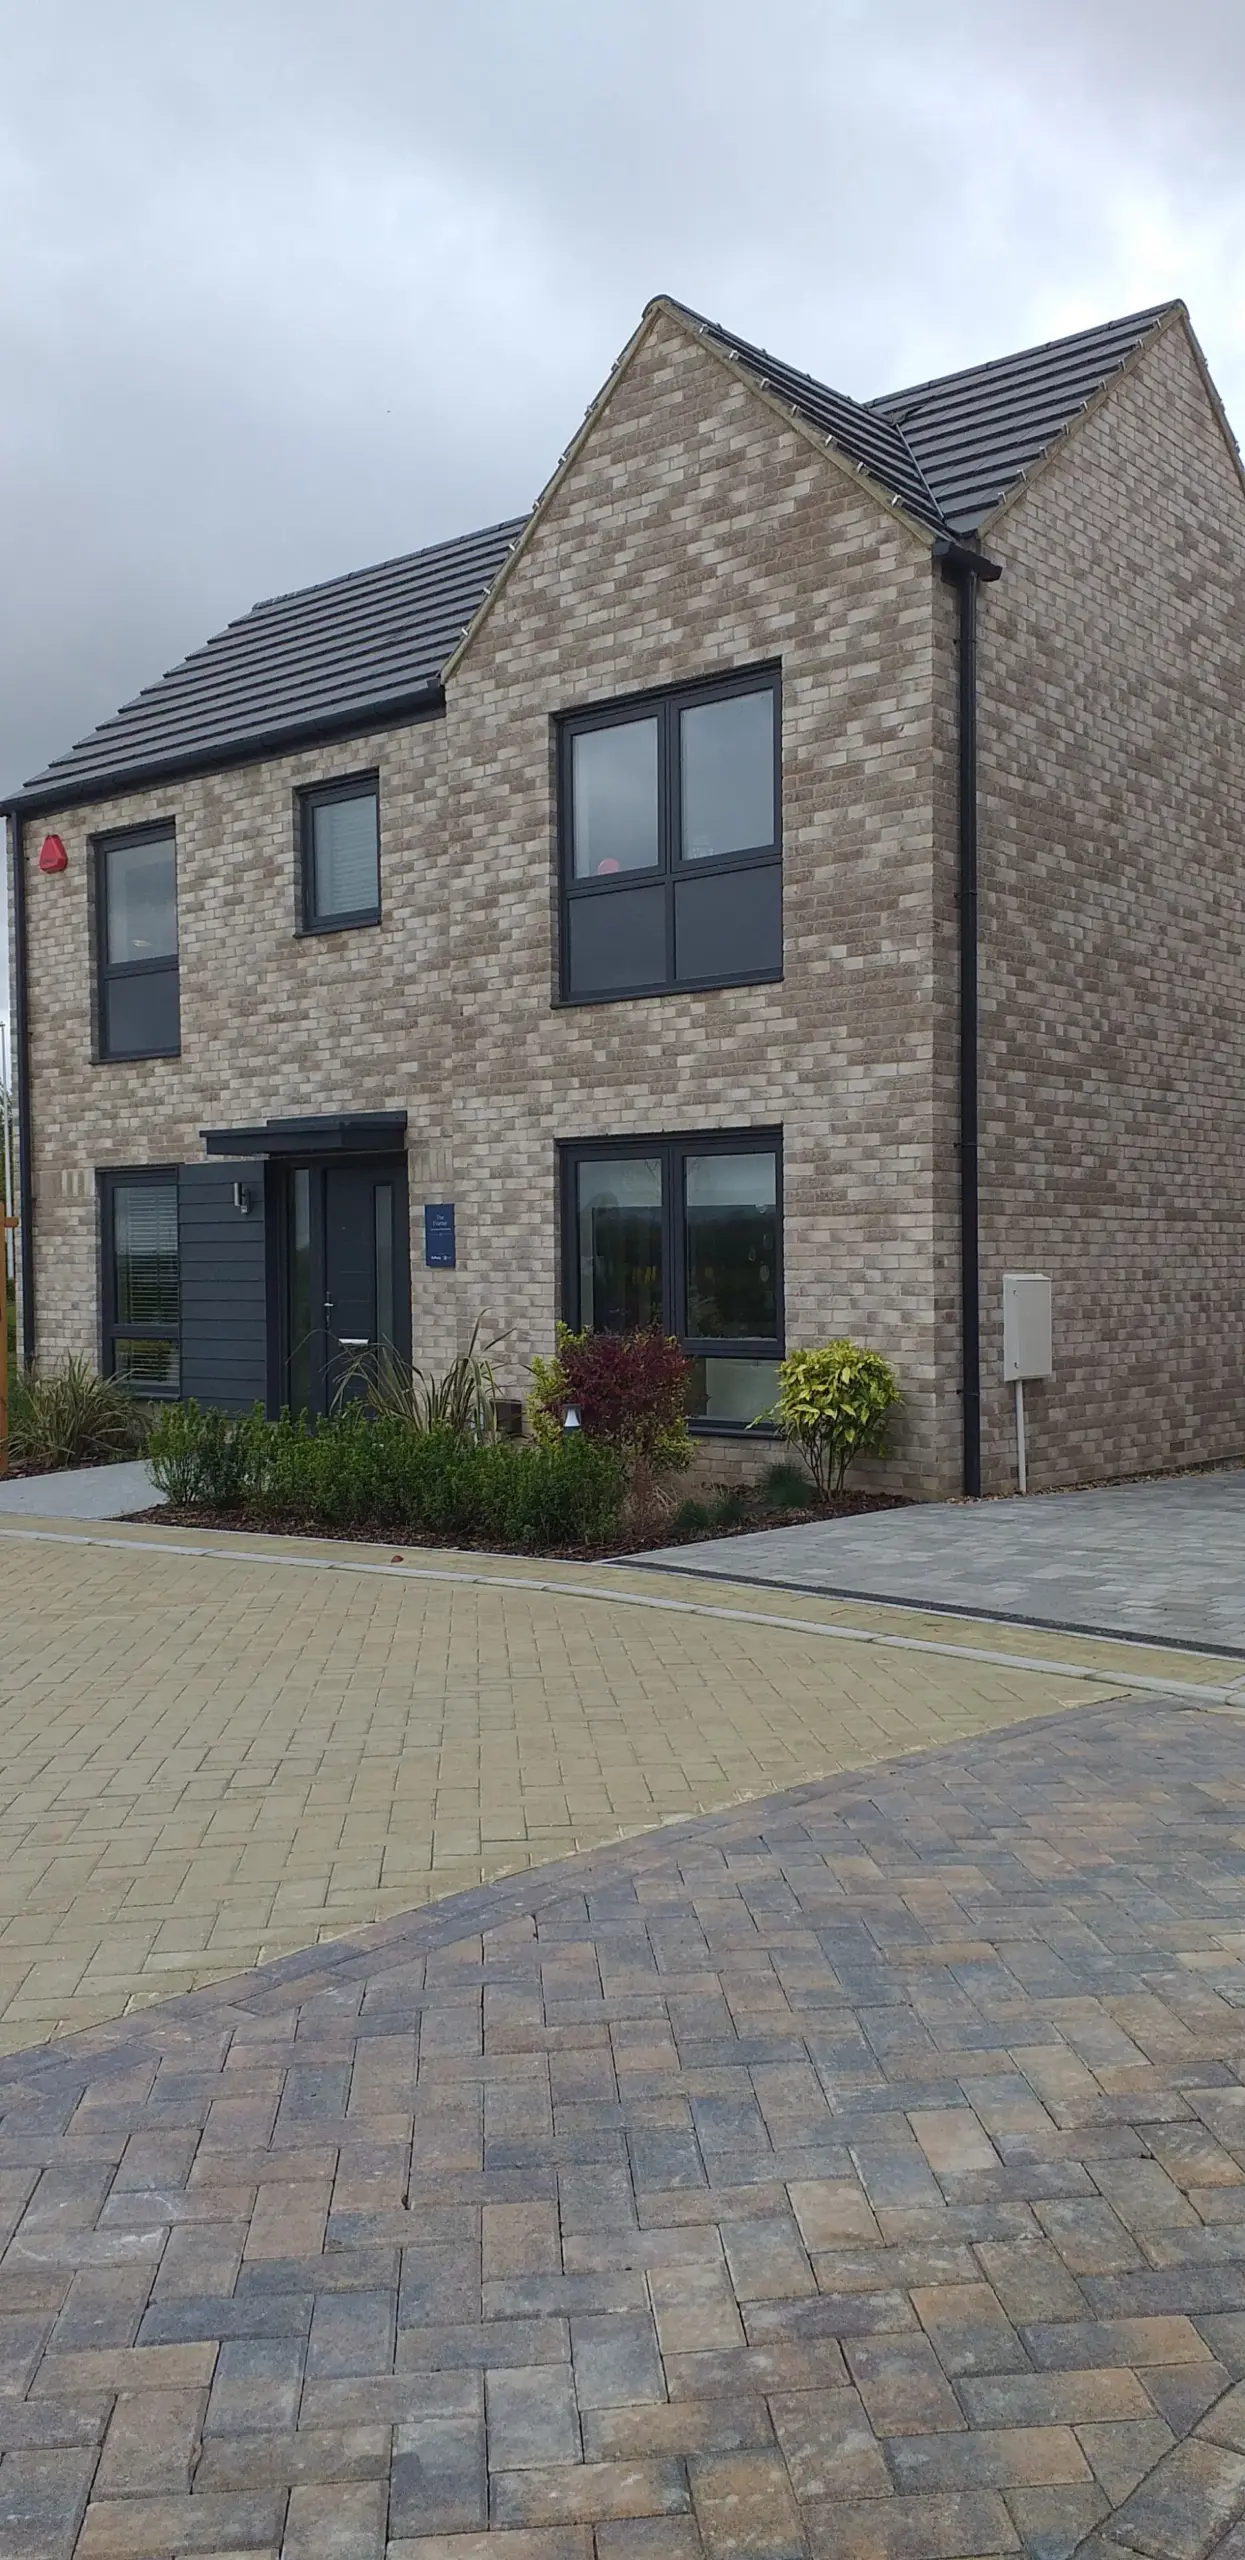
Casement window installation starts with verifying the opening, not fixing the frame. Confirm the aperture, support, damp-proofing detail and agreed frame position before unpacking the unit. Then position and pack the frame, check it is level and square, fix without distortion, glaze to the system instructions, seal the perimeter and commission every opening sash. Manufacturer instructions and the project specification take precedence over generic fixing rules. For made-to-measure units, see our trade casement window supply service; the installed-project perspective is shown by Clyde Windows & Construction’s casement window service.
Installation sequence at a glance
| Stage | Primary check | Hold point |
|---|---|---|
| Receipt | Reference, size, glass, finish and damage | Do not install a mismatched or damaged unit |
| Opening | Structure, dimensions, moisture and cleanliness | Resolve unsound masonry or support |
| Frame set | Level, plumb, square, packing and installation line | Correct twist or bow before glazing |
| Fix and glaze | System-specific fixings and glass support | Confirm free operation before sealing |
| Seal and hand over | Drainage, perimeter seals, hardware and records | Close defects before completion |
Preparing the Opening
Remove the existing frame cleanly, taking care not to damage the surrounding masonry or plasterwork. Check the reveal for any defects — spalling mortar, damp patches, or cracked lintels — and address these before proceeding. The lintel must be sound and properly bearing; if in doubt, the structural condition of the opening should be assessed before any new frame is installed.
Clean up the reveal faces, removing loose material. The opening should be dry before the new frame goes in. If there is existing mastic or sealant residue, remove it fully — new sealant will not bond reliably to old product.
Positioning and Packing
Offer the frame into the opening without fixings. Check it sits level on the cill — use a spirit level across the bottom of the frame. Shim with plastic packers to level and plumb the frame before any fixing is made. The packers should sit at fixing positions and at the corners; do not leave the frame unsupported between fixing points.
Check that the frame is square by comparing both diagonals, and check level and plumb on more than one face. Use the tolerance stated for the actual product and project; do not impose a universal figure. Recheck after each fixing because an unsupported or overtightened jamb can twist.
Fixing
PVC-u frames are fixed through the frame into the surrounding structure. Use the appropriate fixing for the substrate:
- Masonry — frame fixings into plugged holes, or purpose-made masonry anchors through the frame
- Structural timber — compatible screws with embedment and edge distances selected for the timber, imposed loads and fixing manufacturer’s data
- Strap anchors — used in new-build or where fixing through the frame face is not possible; strap into the cavity or to the inner leaf
Set fixing positions and centres from the current system supplier’s instructions, the frame size and configuration, the substrate and the project design. Confirm reinforcement and avoid drainage paths, glazing pockets and hardware. Tighten sufficiently to secure the frame without pulling the profile out of line. The BSI record for BS 8213-4 identifies the recognised installation standard; use the licensed current document where it applies.
Sealing
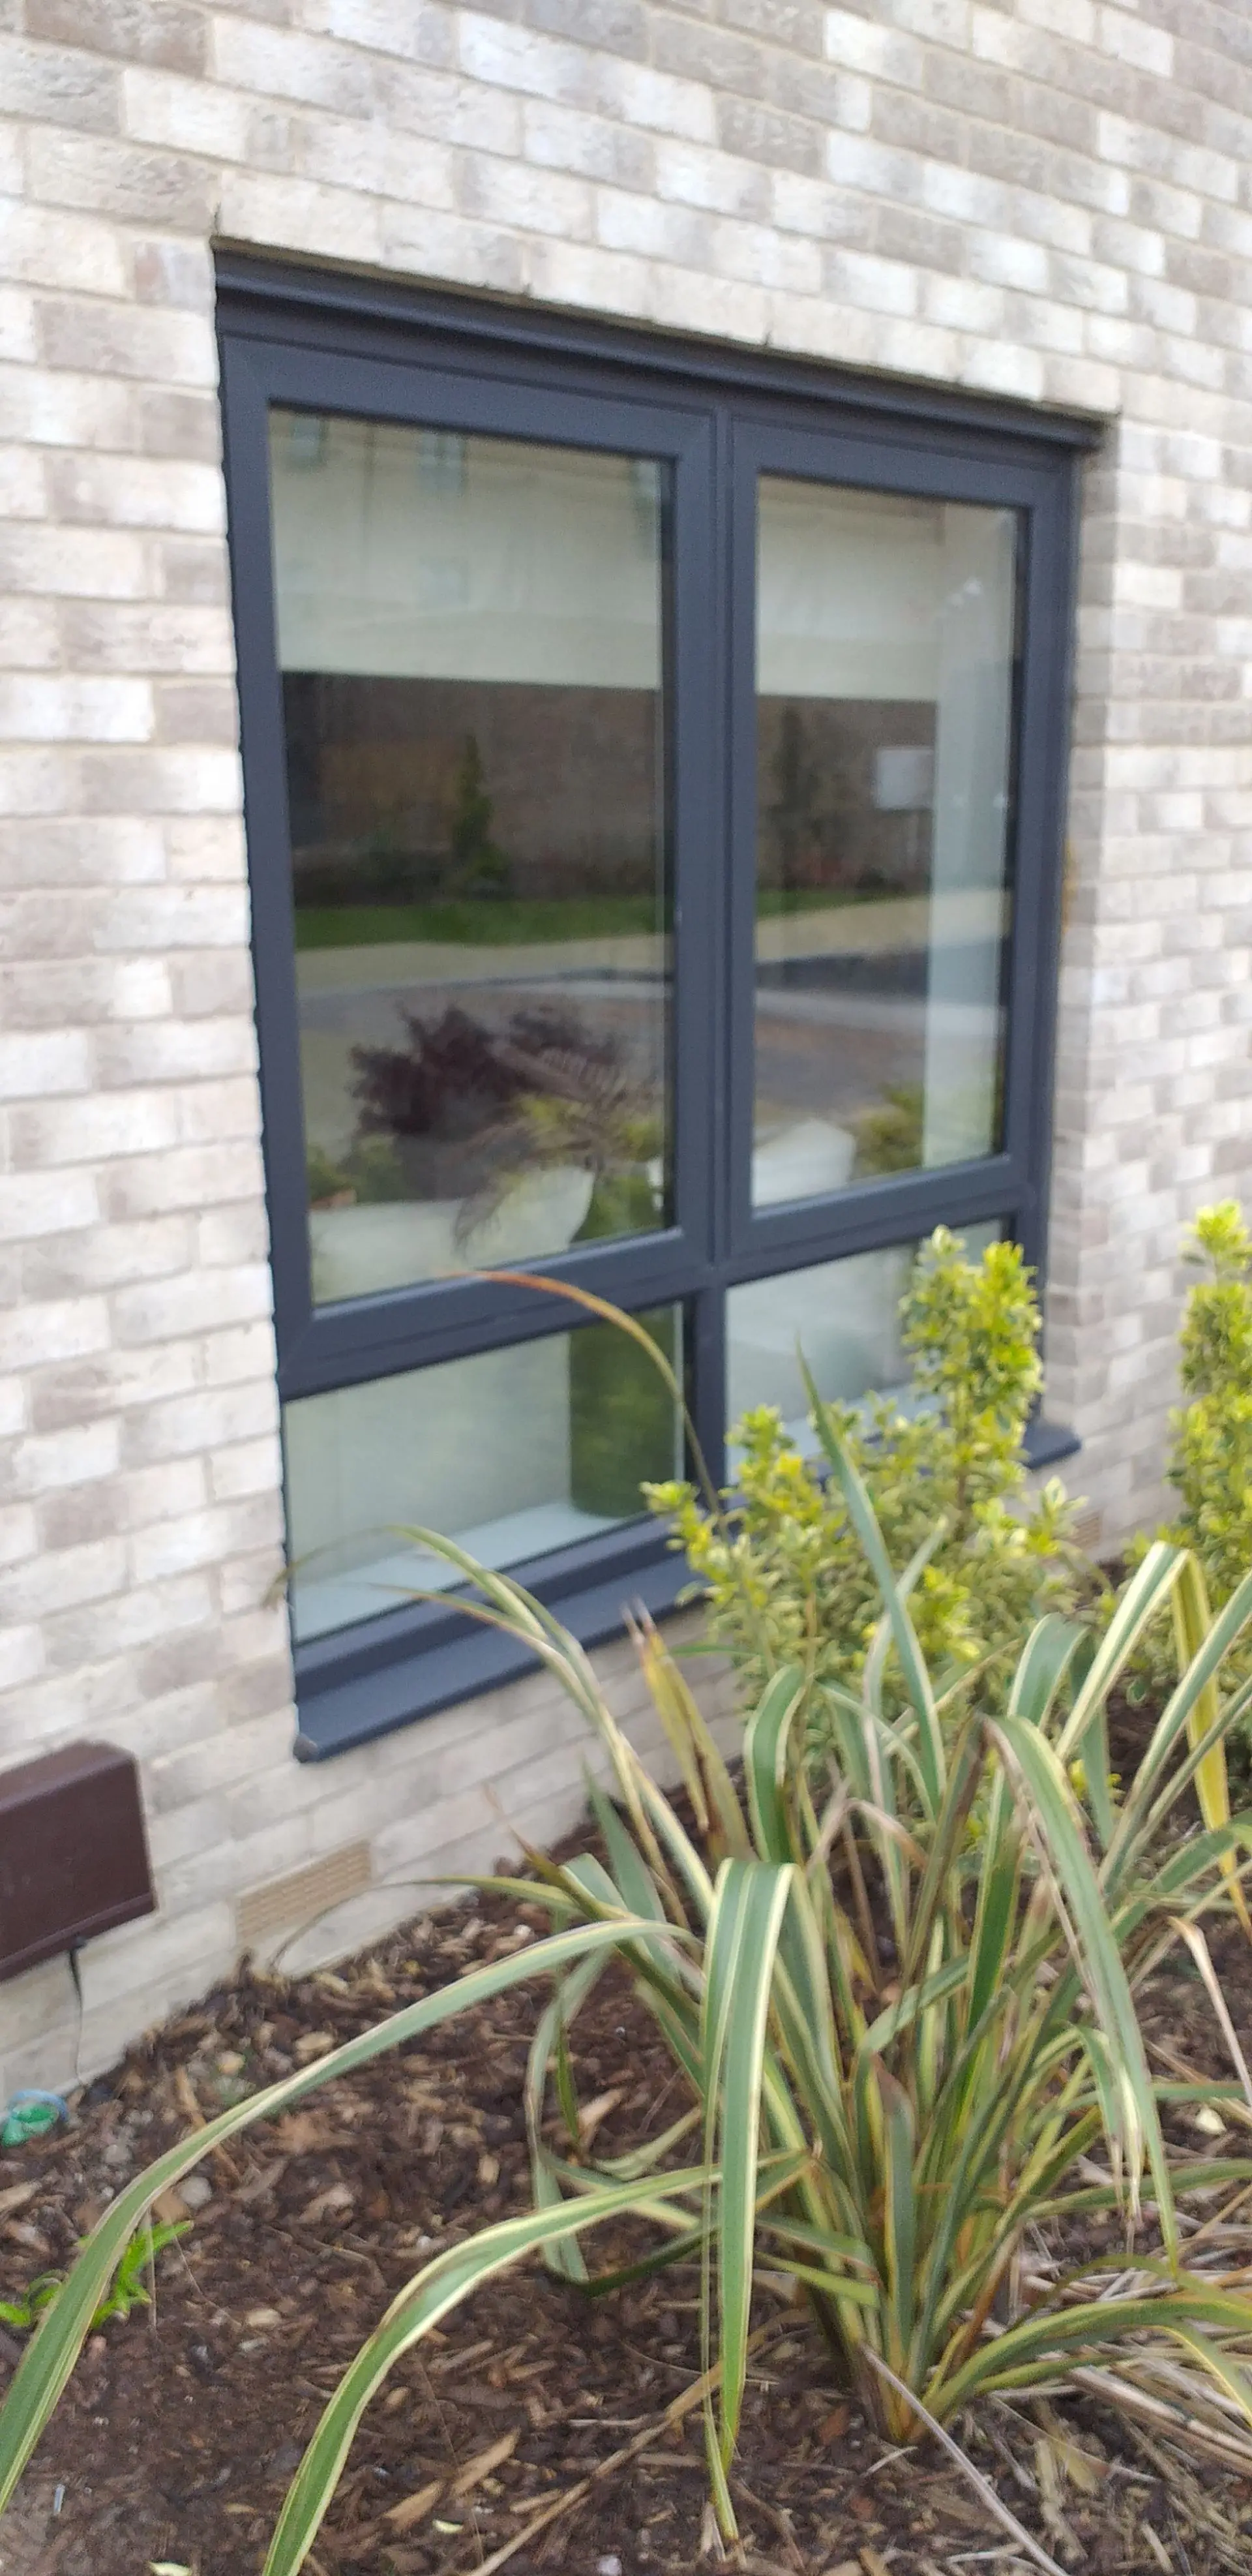
Sealing is the difference between a weathertight installation and one that fails within months. There are three distinct sealing zones on a casement installation:
- Insulated perimeter zone — use the project-specified compatible insulation or low-expansion window foam without blocking drainage or bowing the frame; foam is not a substitute for mechanical fixing or the weather seals
- Internal sealant — once the foam has cured and been trimmed, apply a continuous bead of paintable decorator’s caulk or silicone at the junction between the frame and the internal plaster or reveal. This seals against air movement internally
- External sealant — apply a continuous bead of external-grade silicone between the frame and the outer masonry face. Tool off cleanly and ensure full coverage — any gap allows water to track behind the frame and into the reveal
Hardware Adjustment
Once the frame is fixed and glazed, cycle every sash and check clearances, locking engagement and gasket compression. Diagnose frame geometry, packing and glass support before altering hardware. Make only adjustments permitted by the hardware instructions and record unresolved damage or manufacturing faults rather than forcing the handle.
Compliance
For full details of Scottish compliance requirements, see our guide to Part L building regulations in Scotland. For guidance on sourcing the right windows for your jobs, read our article on sourcing trade windows as a joiner. For help pricing your fitting work, see our window fitting pricing guide.
In Scotland, use the handbook edition applicable to the warrant application or the date that non-warrant work starts. The April 2026 domestic technical handbook covers safety, environment and energy topics relevant to windows, while the Scottish Building Standards collection provides current and previous editions. Confirm warrant, ventilation, glazing, fall-protection and energy requirements for the actual building; do not assume that one replacement-window rule applies to every project. Retain approved drawings, whole-window performance evidence, glazing details and handover records.