Bay and bow windows are among the most demanding products to specify and fit correctly. The geometry is more complex than standard casements, the order requires more detailed information, and the installation involves structural considerations that don’t apply to flat openings. Get the specification right and the result is one of the most impactful installations a joiner can deliver. Get it wrong and you’re looking at remakes, structural issues, and significant rework.
Bay vs Bow: Understanding the Difference
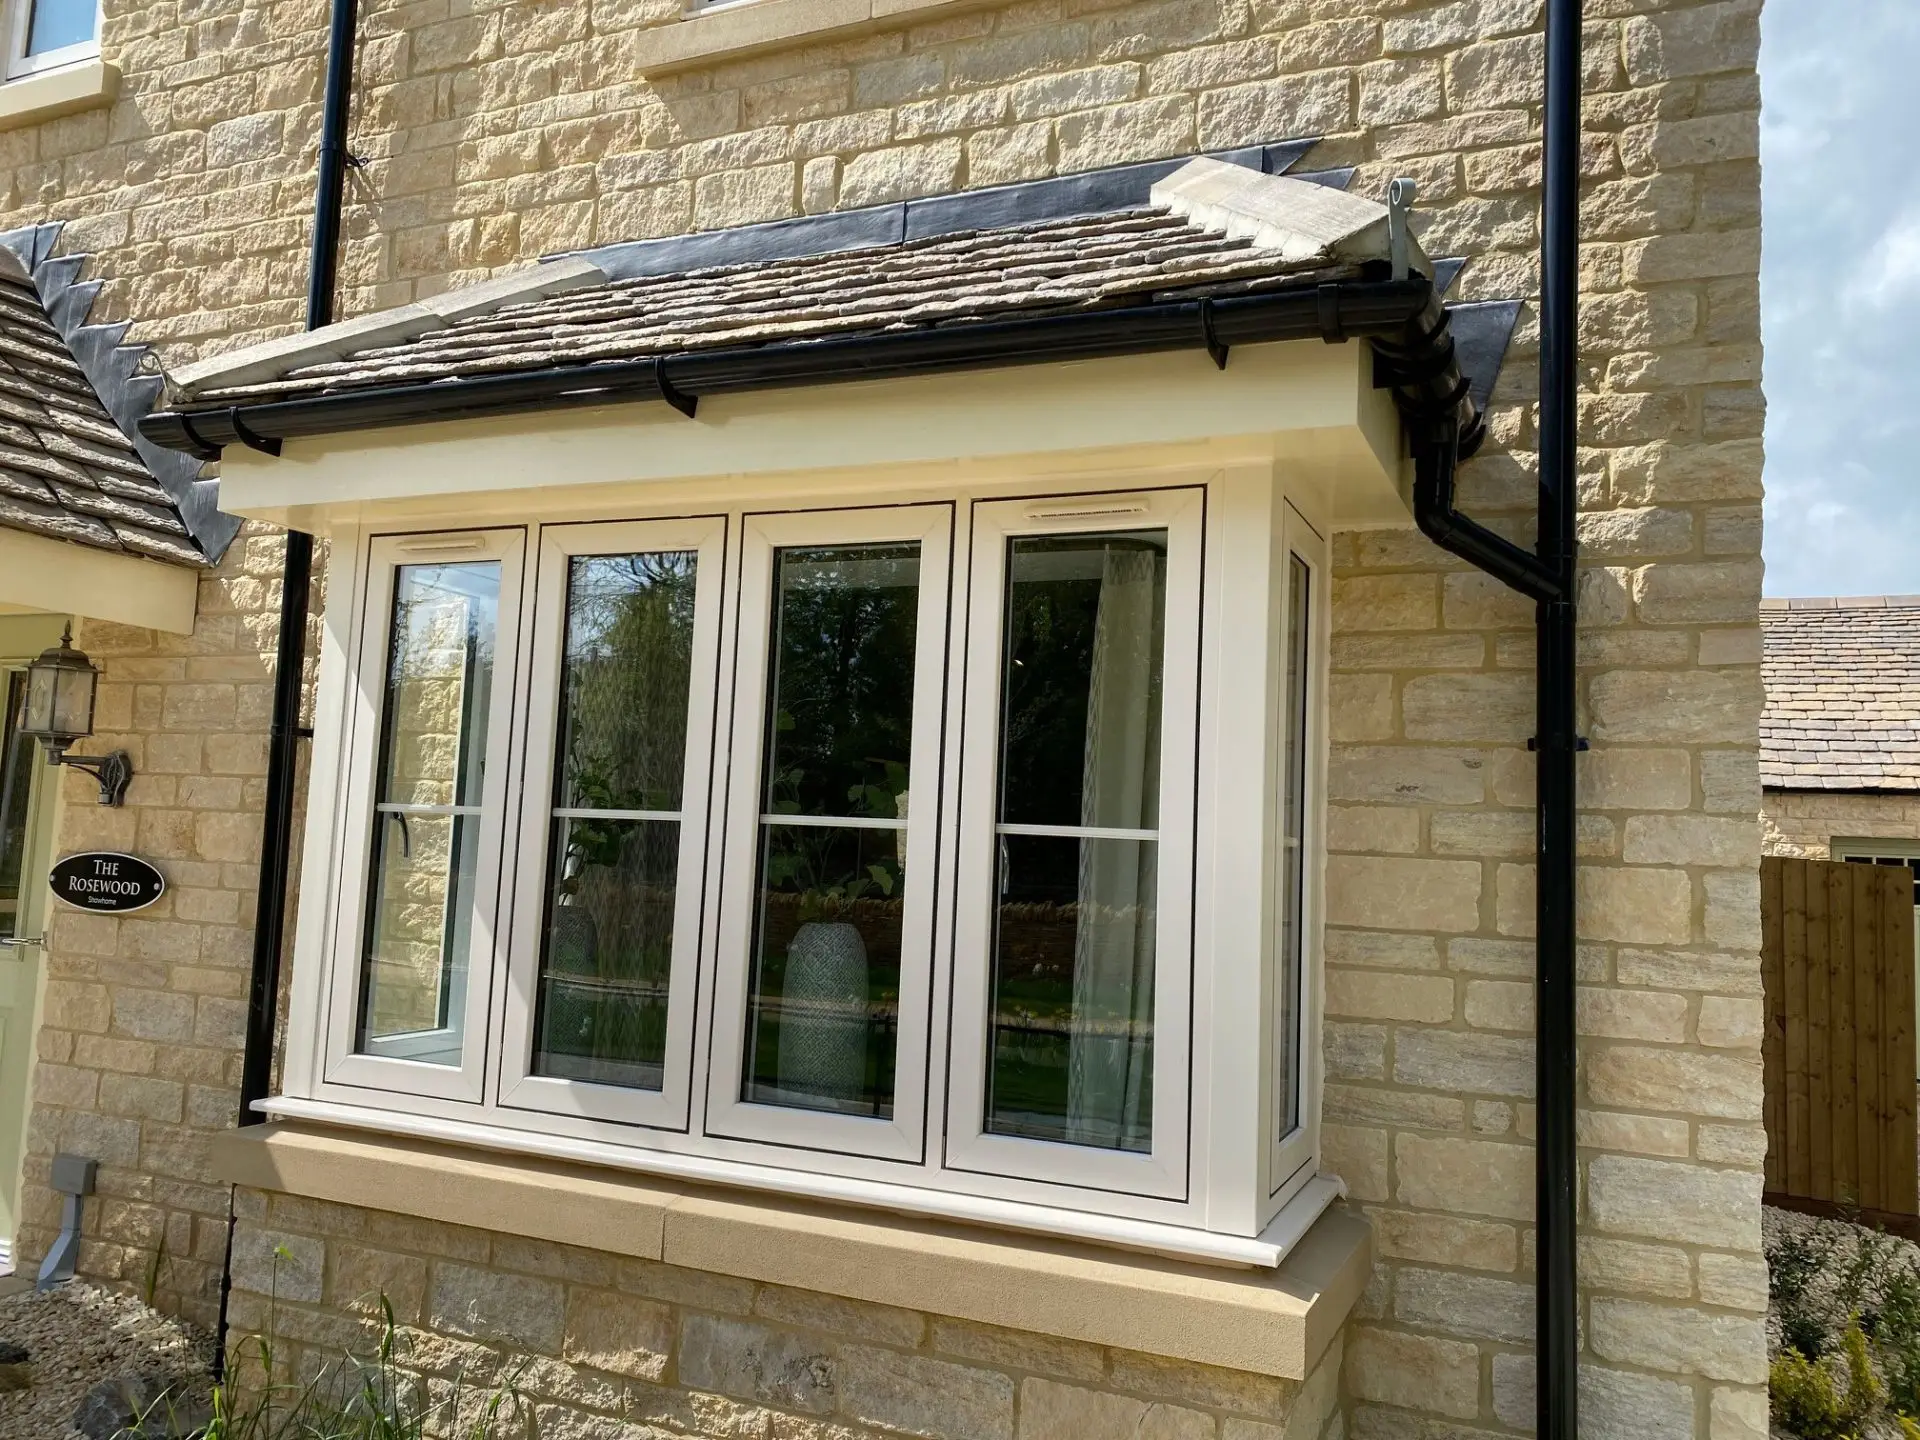
A bay window projects from the building face using angled side sections joined to a flat front section. The most common configurations are square bay (90° side returns) and canted bay (typically 45° or 135° pole angles). A bow window uses multiple equal-width sections set at progressive angles to create a curved projection. Both types must be ordered as a complete unit with consistent head and cill heights across all sections.
Pole Angles and Why They Matter
The pole angle is the internal angle at each junction between bay sections, measured from the inside of the frame. Common angles are:
- 90° — square bay, right-angle junction
- 135° — canted bay, the most common angle on Victorian and Edwardian properties
- 150° — shallower cant, used on wider bays where projection must be limited
When replacing an existing bay, measure the pole angle of the existing installation rather than assuming a standard. Angles on older properties often deviate from nominal values and a non-standard angle must be specified explicitly with your supplier.
Measuring a Bay Opening
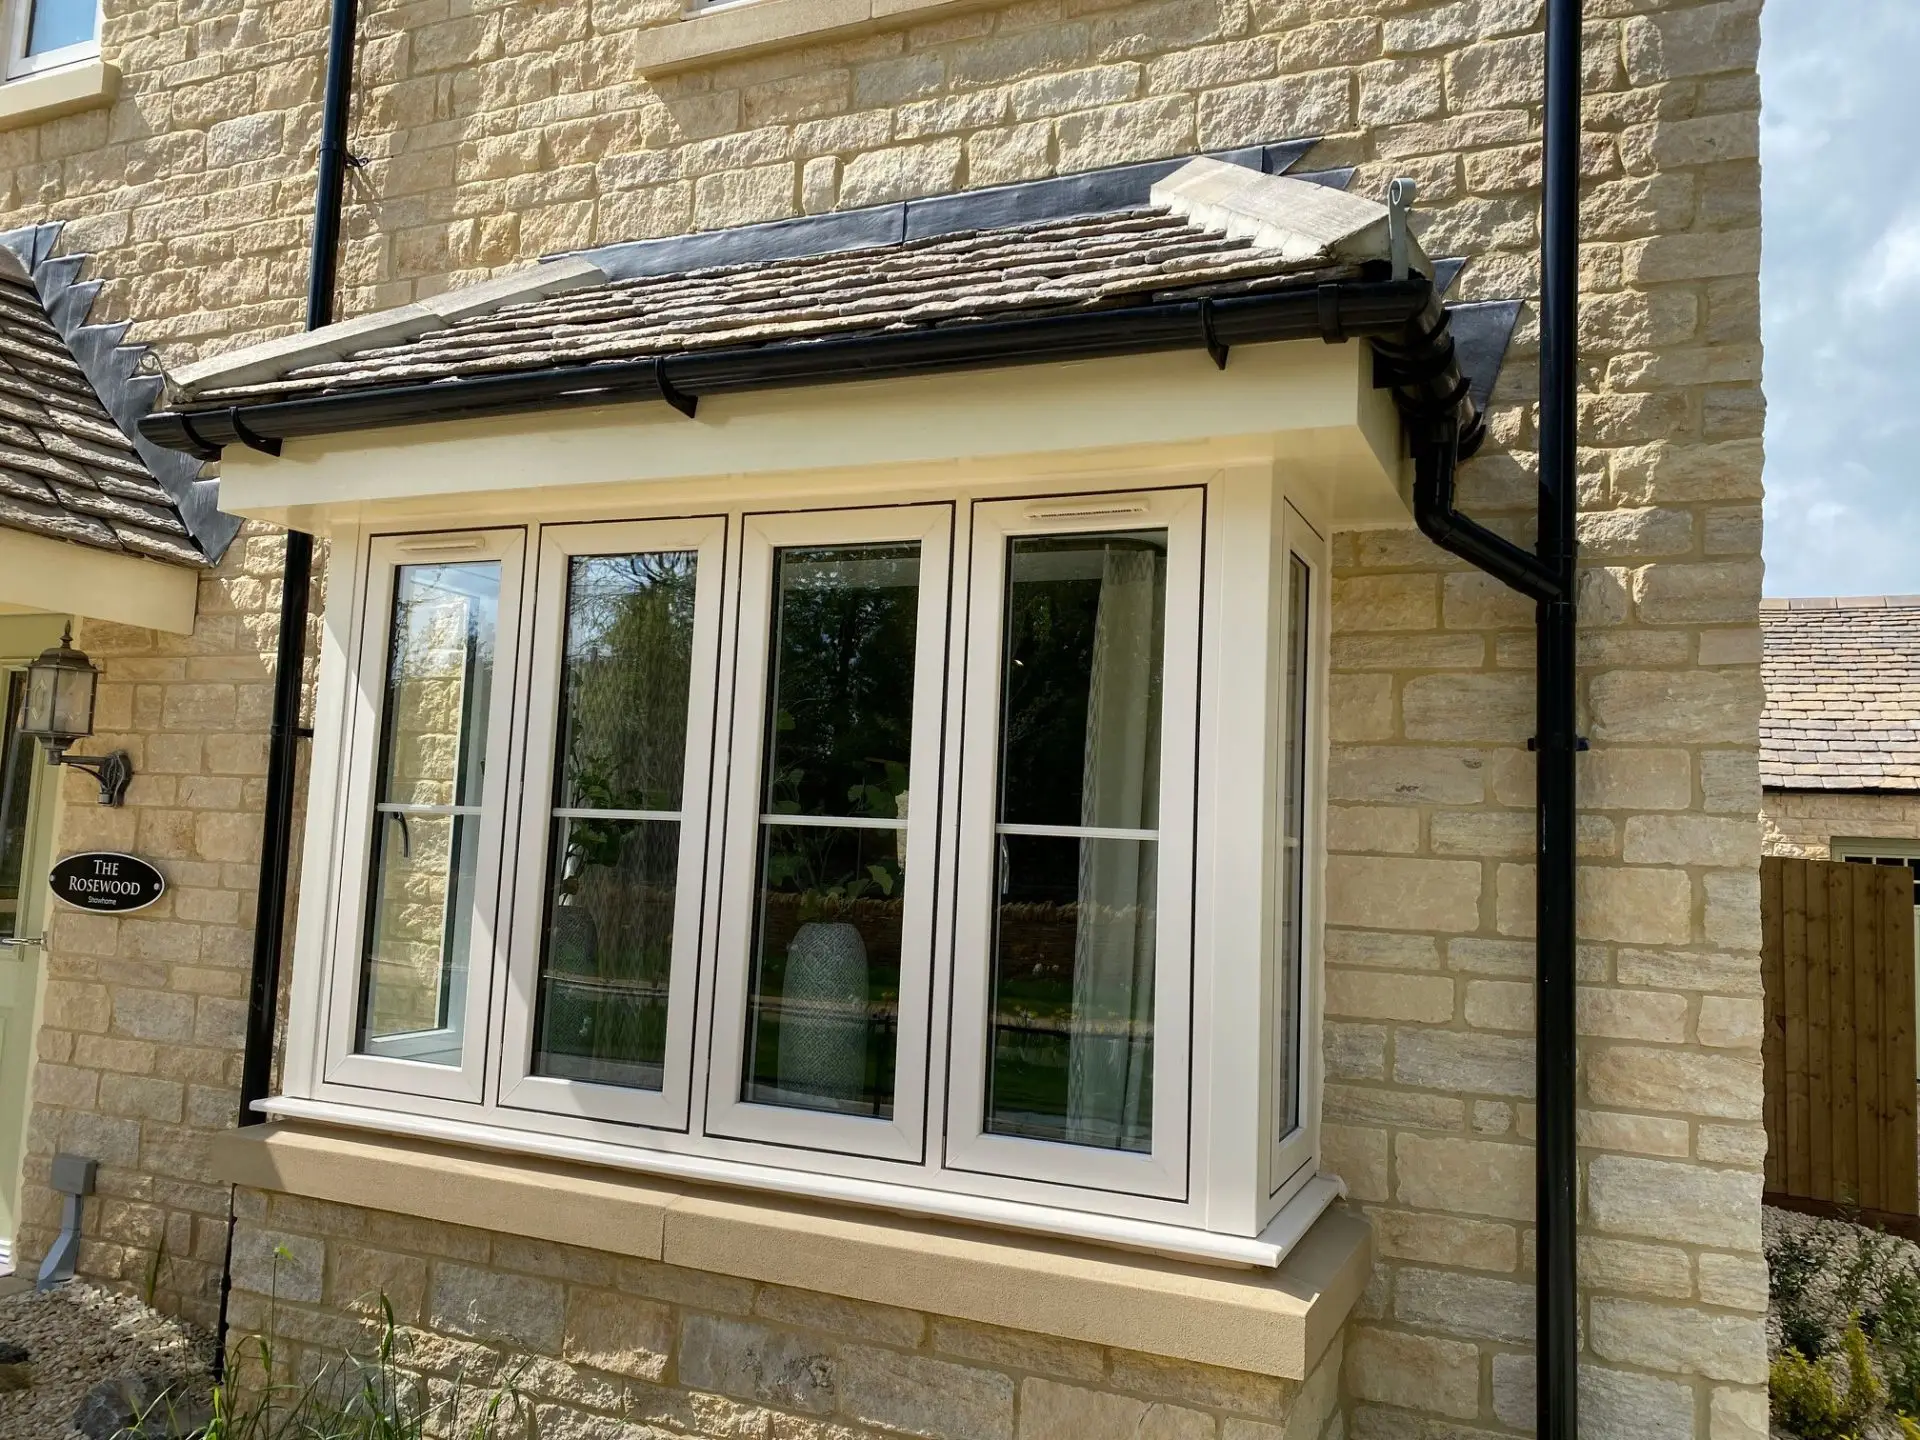
Measure each individual section of the bay separately — width and height — following the standard three-point measurement rule. Additionally, measure:
- Overall front width — the total width from outside jamb to outside jamb of the full bay
- Overall projection — the depth the bay protrudes from the building face (relevant for cill and roof geometry)
- Head height — confirm this is consistent across all sections; a sloped head means each section needs a different height
- Cill height — measure from finished floor level if an internal cill board is being fitted
Structural Considerations
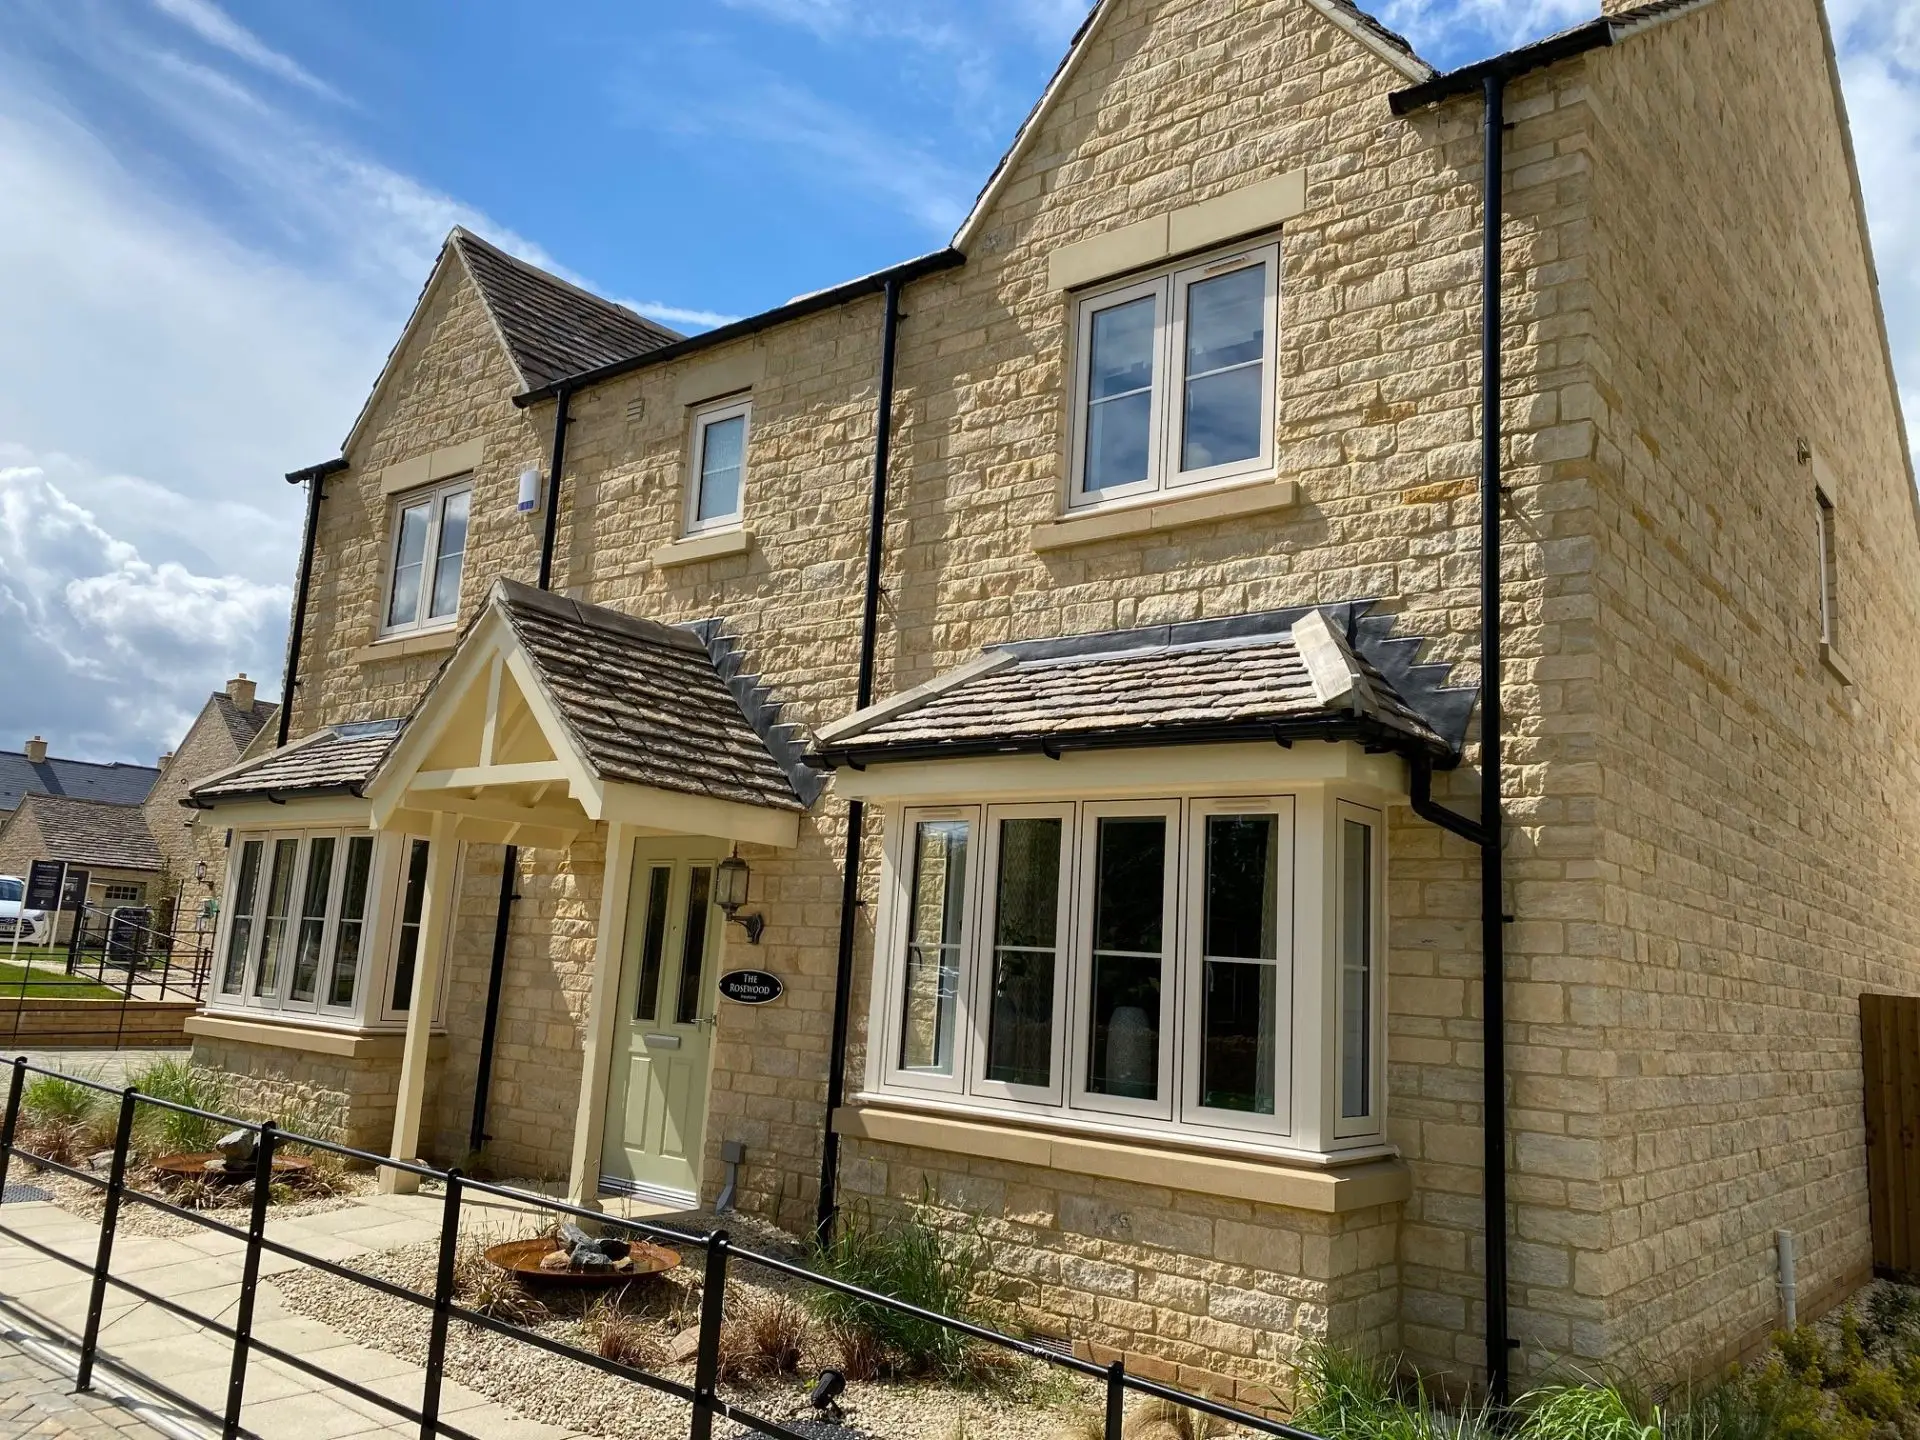
Bay windows typically sit on a cantilevered floor structure or a projecting brick plinth. Before removing an existing bay, confirm that the structural support will remain intact during installation. The bay roof — whether a lead flat, pitched slates, or a GRP unit — must be undisturbed or replaced to maintain weathertightness.
The head of the bay must be supported during installation. On most properties the bay head carries load from the structure above; removing all three sections simultaneously without temporary support is not safe practice. If in doubt, consult a structural engineer before commencing work.
For the fundamentals of measuring window openings, see our guide on how to measure windows for replacement. To discuss a specific bay window project and get accurate pricing, contact our trade team.
Bay Window Order Checklist
- ☐ Bay type confirmed (square bay / canted bay / bow)
- ☐ Pole angle measured and confirmed (not assumed)
- ☐ Each section measured independently (W × H)
- ☐ Head height consistent across all sections
- ☐ Projection depth noted
- ☐ Structural support plan confirmed before removal of existing
- ☐ Bay roof treatment confirmed (retain / replace)
- ☐ Cill board requirements confirmed
- ☐ Glazing specification confirmed for all sections